
Building a home recording studio is a dream for many musicians and creatives. The good news? With the right planning and materials, you can turn a simple room into a music sanctuary. Here’s what you need to know to get started the right way.
1. Choose the Right Room
First mission: Find the right room. Pick one away from noisy distractions (goodbye, neighbors!) and spacious enough to hold all your gear.
Once you’ve secured the ideal space, the next step is to transform it into a professional recording environment. Even spaces like basements, which may seem challenging due to acoustics, can be turned into high-quality studios with the right treatment.
• Acoustic panels and bass traps reduce unwanted reflections and control low-frequency buildup.
• Careful design of the studio layout
• Tailored construction and adjustments can convert an empty room into a top-tier recording studio.
With a well-thought-out approach, any room can become the perfect space for producing crystal-clear sound.
2. Build Proper Soundproofing for Your Home Studio
No one wants to record their music with traffic noise in the background. To truly isolate your home studio from external sounds, proper construction is key. Effective soundproofing isn’t just about panels—it requires constructing or renovating the space with materials specifically designed to block sound transmission.
If you want to learn more about the difference between soundproofing and acoustic treatment, check out our article Soundproofing vs. Acoustic Treatment: What’s the Difference?
If you’re setting up your first studio and want great results without major structural changes, consider these practical solutions:
- Soundproofing Blankets – These acoustic blankets provide a simple and flexible way to reduce sound transmission through doors and windows.
- Door Seals & Sweeps – Sealing gaps around doors is an effective method to prevent external noise from entering the room.
- Studio Acoustic Panels – While primarily designed for acoustic treatment, they can also help reduce sound reflections and improve isolation when combined with other materials.
3. Control Noise in the Space with Acoustic Treatment
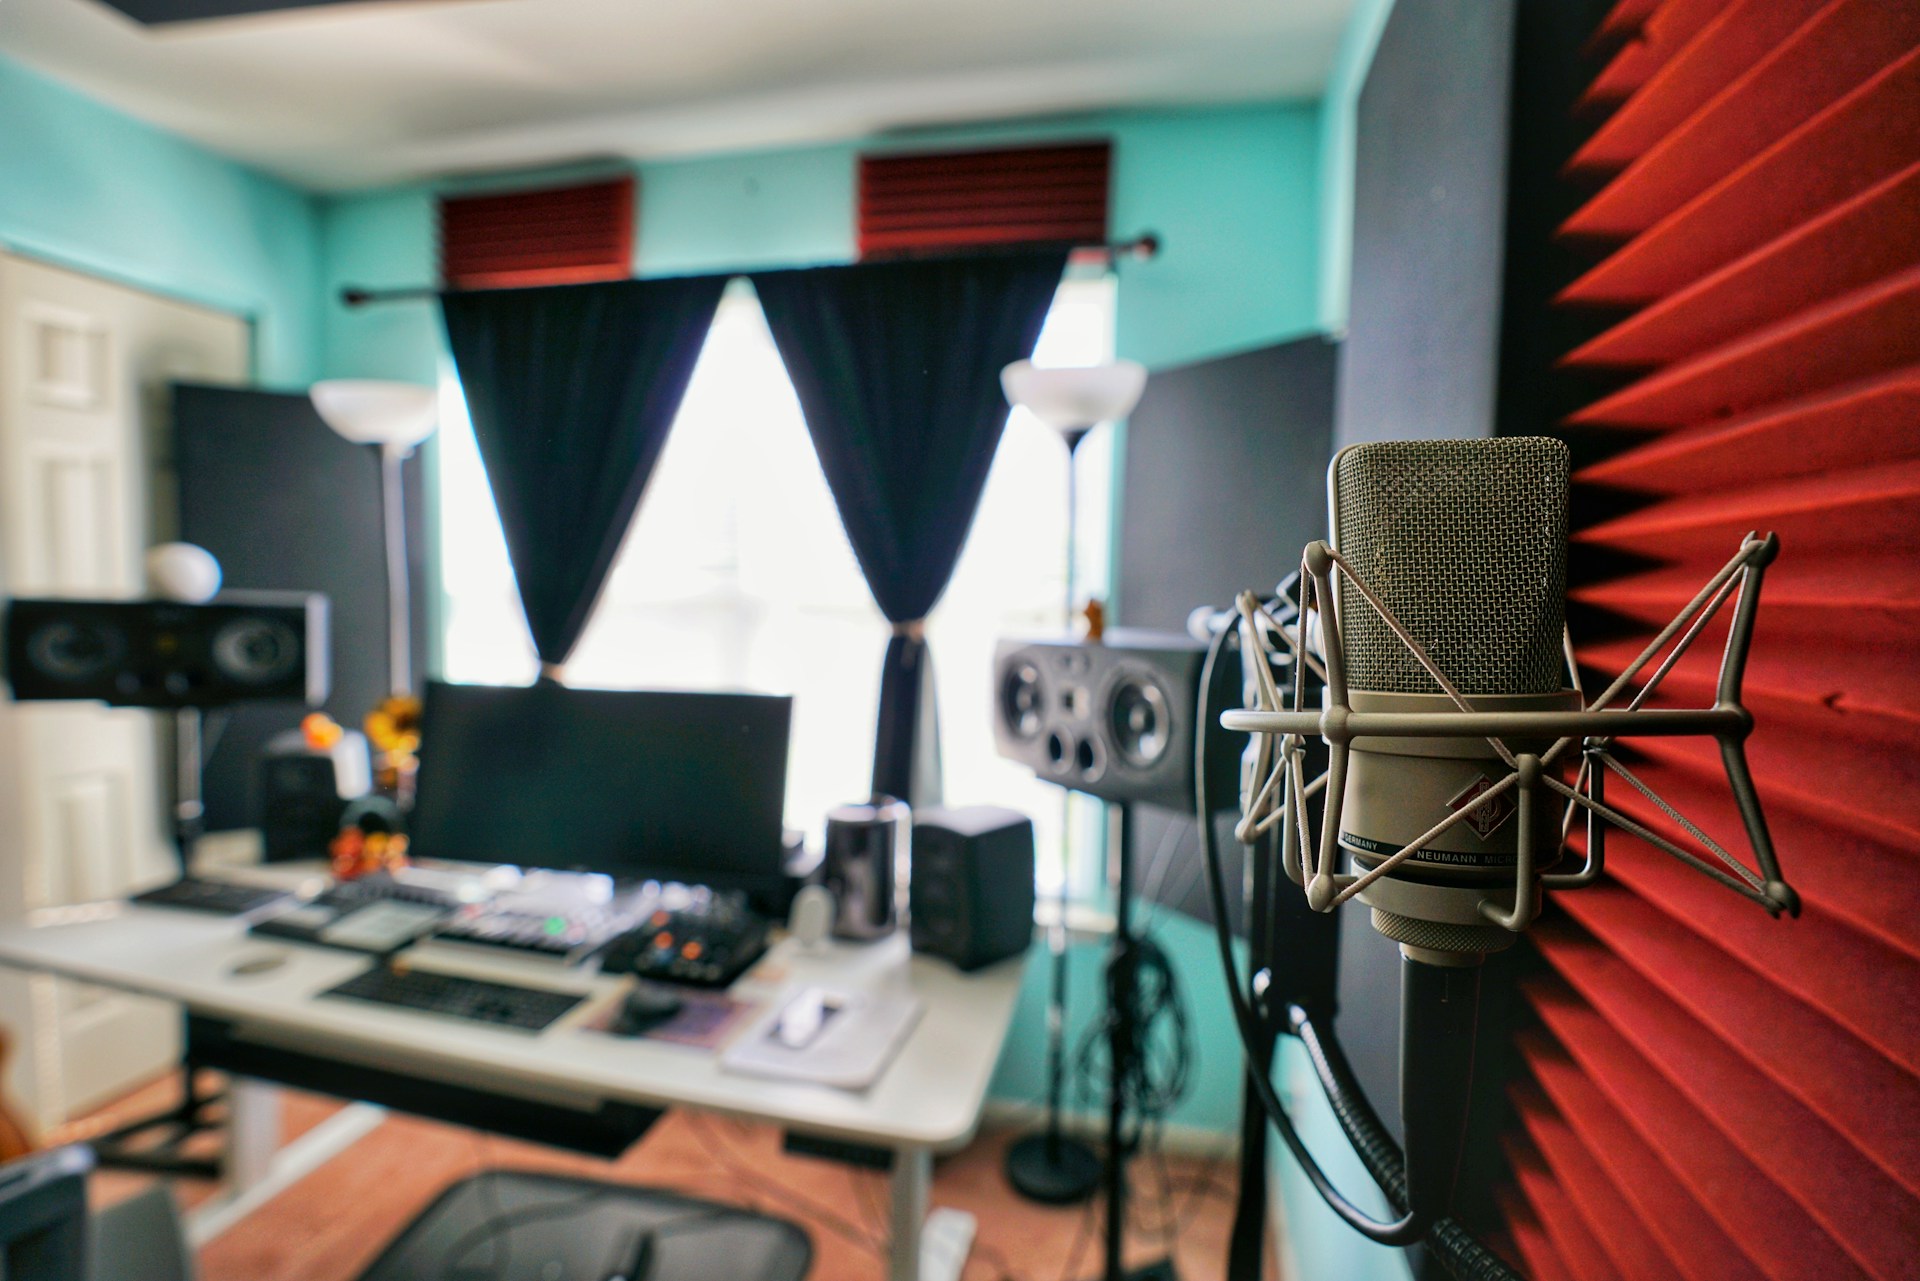
Great soundproofing isn’t enough if your room’s acoustics are off. Acoustic panels, bass traps, and diffusers are essential for creating a balanced sound environment, and they play a crucial role in elevating the quality of your recordings.
• Acoustic panels absorb mid-to-high frequencies and reduce unwanted reflections that cause muddiness and harshness in your recordings. By strategically placing them on walls and ceilings, you can significantly improve clarity and focus in your sound.
• Bass traps are designed to manage low frequencies, which can otherwise accumulate in corners, creating a boomy or uneven sound. These specialized traps help control the bass response, ensuring that your recordings have a natural, tight low end without distortion.
• Diffusers scatter sound waves in a controlled manner, preventing dead spots and overly “dead” acoustics. They ensure the sound remains lively and vibrant, without excessive reverberation or echo.
In short, combining these acoustic treatments will create a real upgrade for your studio, helping you achieve professional-quality recordings that are clean, clear, and true to the sound you’re aiming for.
4. Equip it with the Right Gear
Now for the fun part: gear! Here’s the essential setup to get started, along with key factors to consider when choosing each piece.
• Computer – Choose a powerful system with a fast processor and plenty of RAM to handle recording software smoothly. A solid-state drive (SSD) can also improve performance.
• Digital Audio Workstation (DAW) – The heart of your studio. Look for one that fits your workflow, whether you need advanced editing features, virtual instruments, or an intuitive interface.
• Audio Interface – Converts analog signals to digital (and vice versa). Pay attention to input/output options, preamp quality, and compatibility with your DAW.
• Microphones – Dynamic mics are great for loud sources like vocals and drums, while condenser mics capture more detail, making them ideal for acoustic instruments and studio vocals. Each microphone has different characteristics: some pick up sound from all directions, while others focus only on what’s in front of them. Choose based on what you need to record.
• Studio Headphones – Closed-back headphones are best for recording to prevent sound leakage, while open-back models provide a more natural sound for mixing.
• Studio Monitors – Unlike regular speakers, these provide a flat frequency response, allowing you to hear your mix accurately. Look for monitors that match your room size and consider acoustic treatment for optimal sound.
For a deeper dive into selecting the right equipment, check out our article here.
5. Ask an Expert
This should actually be the first step if you want to get the most out of your studio. Getting insights from industry professionals can save you a lot of time and money in the long run. From choosing the right space to selecting the best acoustic panels to designing and building studios, an expert team like ours will guide you every step of the way in creating your perfect space.
If you’re looking for personalized advice or expert support to build your studio, check out our recording studio design and consulting services.
Your Dream Studio Starts Here
The right gear matters, but on its own, it’s not enough. A great studio is about creating a space that brings out your best sound and your most creative self.
Bedroom producer? Full-on music junkie? Your space should work for you.
Need expert advice on getting started? We’ve helped countless artists turn spare rooms and weird corners into professional-grade studios. Let’s do the same for you.
Let’s talk. Hit us up and let’s figure out how to build a space that feels like you.