

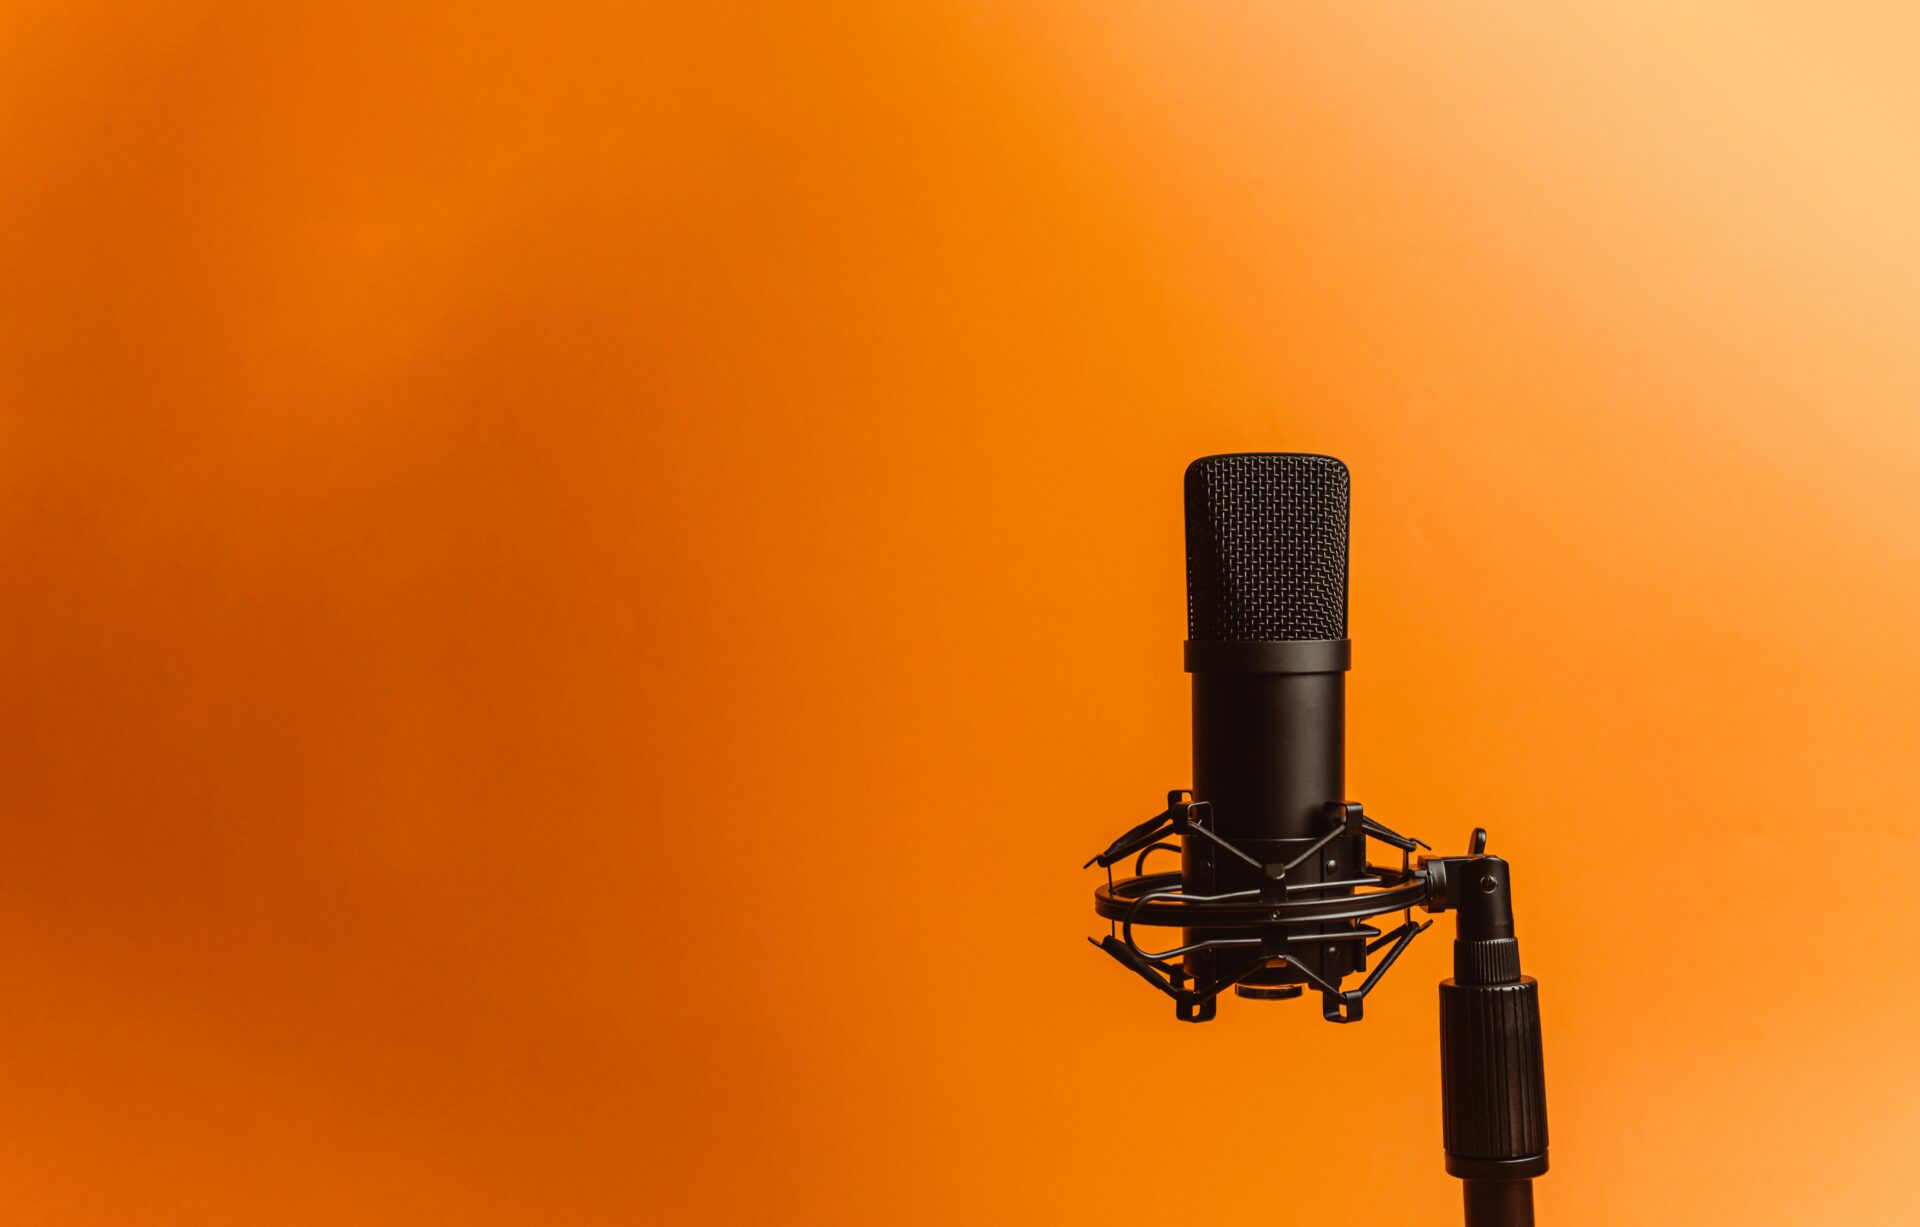
A good podcast does not need to sound like it was recorded in a million-dollar studio. It does, however, need to be comfortable to listen to. If your voice sounds distant, echoey, harsh, or buried under background noise, even a great conversation can become tiring.
The good news is that improving podcast sound quality is often less about buying more equipment and more about getting the fundamentals right: the room, microphone placement, recording levels, and a sensible editing process.
Here’s where to start.
Start With the Room, Not the Microphone
It is tempting to assume that a more expensive microphone will automatically produce a better podcast. In practice, the microphone can only capture what reaches it, including the sound of the room.
Hard surfaces such as bare walls, glass, floors, and ceilings reflect sound. When those reflections arrive back at the microphone shortly after your direct voice, speech can begin to sound hollow, distant, or unclear. Shure’s guidance for home recording and podcasting similarly recommends choosing quieter spaces with fewer reflective surfaces and emphasizes capturing clean audio at the source rather than relying on editing to repair it later.
Before recording, listen carefully to the room. Clap your hands and speak at normal podcast volume. Do you hear an obvious ring or lingering reflection? Record 30 seconds and listen through headphones. A microphone may reveal room noise and reflections that are easy to overlook while you are sitting there.
If you regularly record in the same space, improving the room acoustically can make a substantial difference to the consistency of every episode and save time on the backend by avoiding repetitive sound corrections in the editing process. Adding professional acoustic panels and treatment solutions can help control reflections and create a more predictable environment for spoken-word recording.
Improve Podcast Sound Quality With Better Mic Placement
Microphone position has an enormous influence on recorded speech.
Moving the microphone closer generally captures more of your direct voice relative to the room. Moving it farther away allows more room ambience into the recording. For example, Shure recommends positioning its MV7 approximately 1–6 inches from the speaker for podcast and voice applications, while noting that the exact position should be adjusted to the microphone and desired sound.
That does not mean closer is always better. Directional microphones can exhibit the proximity effect, which increases bass response as you get very close. Shure’s explanation of microphone positioning and proximity effect illustrates how distance can affect low-frequency response. Depending on the voice and microphone, that can create a warm broadcast-style sound or make speech overly boomy.
Experiment with distance and angle while monitoring through headphones. Once you find a natural position, try to maintain it throughout the episode. Constantly leaning toward and away from the microphone creates level and tonal changes that become difficult to smooth out later.
A pop filter or appropriate windscreen is also useful for controlling plosives, particularly the bursts of air produced by sounds such as “P” and “B.” Neumann’s vocal recording guidance explains how a pop filter protects the microphone from these air blasts before they become distracting low-frequency pops in the recording.
Control Background Noise Before You Record
Editing software can reduce some unwanted noise but prevention usually sounds more natural.
Listen for HVAC systems, computer fans, refrigerators, traffic, buzzing electronics, and other people in nearby rooms. Some noise sources can simply be switched off temporarily. Others may influence where you position yourself and the microphone.
The microphone’s pickup pattern matters here. With a cardioid microphone, for example, positioning unwanted sound toward the less sensitive side of the microphone can help reduce what reaches the recording. Shure also recommends considering microphone direction and placement when dealing with unwanted sound sources.
For remote interviews, headphones are important too. Playing your guest’s voice through speakers can send that audio back into your microphone, creating echo or bleed. Closed-back headphones are generally a practical choice for spoken-word recording because they help keep playback out of the mic.
Set Recording Levels With Headroom
Recording too quietly can leave you unnecessarily dependent on gain and noise reduction later. Recording too loudly is worse: once the signal clips and becomes distorted, that damage can be difficult or impossible to repair cleanly.
Before the episode, speak at the loudest level you realistically expect to use and set your input gain accordingly. Neumann recommends checking preamp gain against the performer’s loudest section to help maintain a clean recording without clipping.
Do not try to make the raw waveform as large as possible. Leaving some headroom gives you space for laughter, emphasis, and unexpected changes in volume.
This becomes especially important when multiple people are recording. Each speaker should ideally have their own microphone and level control rather than forcing one microphone to capture everyone from different distances.
Use Editing to Polish, Not Rescue
Once you have a clean recording, editing becomes much easier.
Start with the obvious problems: unwanted pauses, distracting noises, major level differences, and mistakes. From there, light EQ can help address tonal issues, compression can reduce excessive differences between loud and quiet speech, and careful de-essing can soften overly sharp “S” sounds.
The goal is not necessarily to make every voice sound heavily processed. For most conversational podcasts, natural and intelligible speech is more important than creating an exaggerated “radio voice.”
Pay attention to final loudness as well. Different podcast platforms may process audio differently, so check the requirements of the services you use. For example, Apple Podcasts recommends overall loudness around -16 dB LKFS, with a ±1 dB tolerance, and a true peak no higher than -1 dBFS. Its audio requirements also provide guidance on formats, sample rates, bit rates, and mono versus stereo delivery.
Treat the Acoustic Problem at Its Source
If you podcast regularly, acoustic treatment is one of the most useful upgrades you can make to the recording environment.
Professional acoustic panels absorb sound energy that would otherwise reflect from room surfaces. Strategic placement can reduce excessive reverberation and early reflections, helping the microphone capture a cleaner, more focused voice.
For a dedicated podcast room, home studio, or multipurpose creative space, Better Sound’s acoustic products offer professional treatment options designed to control unwanted reflections and improve the acoustic environment inside the room.
When choosing panels, look for credible acoustic performance data, such as a published NRC (Noise Reduction Coefficient) rating, rather than judging a product purely by appearance.
Acoustic treatment should not be confused with soundproofing. Panels improve how sound behaves inside the room; they are not a substitute for construction designed to prevent sound from entering or leaving it. If outside noise is the main problem, the solution may involve walls, doors, windows, seals, or other parts of the room’s construction. This guide to soundproofing vs. acoustic treatment explains the distinction in more detail.
Build a Podcast Setup You Can Rely On
Better podcast sound comes from getting several relatively simple things right at the same time. Start with a quiet room, place your microphone carefully, maintain a consistent speaking distance, leave enough recording headroom, and use editing to refine a good recording rather than rescue a poor one.
If room reflections are still making voices sound distant, hollow, or unclear, the recording space itself may be the next thing to address. Proper acoustic treatment can give you a more controlled environment and make it easier to achieve consistent results from one episode to the next.
Explore our professional acoustic solutions or contact us for help choosing the right acoustic treatment for your podcast or recording space.